Installation
Install the ADK CLI globally:Create your agent
Initialize a new agent project:- Select a template: Pick
hello-world. This creates a simple agent that responds to webchat messages using an AI model. - Select a package manager: We recommend bun for the fastest experience. npm, pnpm, and yarn also work. If you only have one installed, this step is skipped.
- Link to Botpress: Select the workspace you want to deploy to. The CLI creates a bot in that workspace and connects your project to it.
my-agent directory.
Navigate into your project:
Test your agent
Now, you’re ready to test your agent.Start the development server
Start the development server with hot reloading:http://localhost:3001/. Press space in the terminal to open it in your browser.
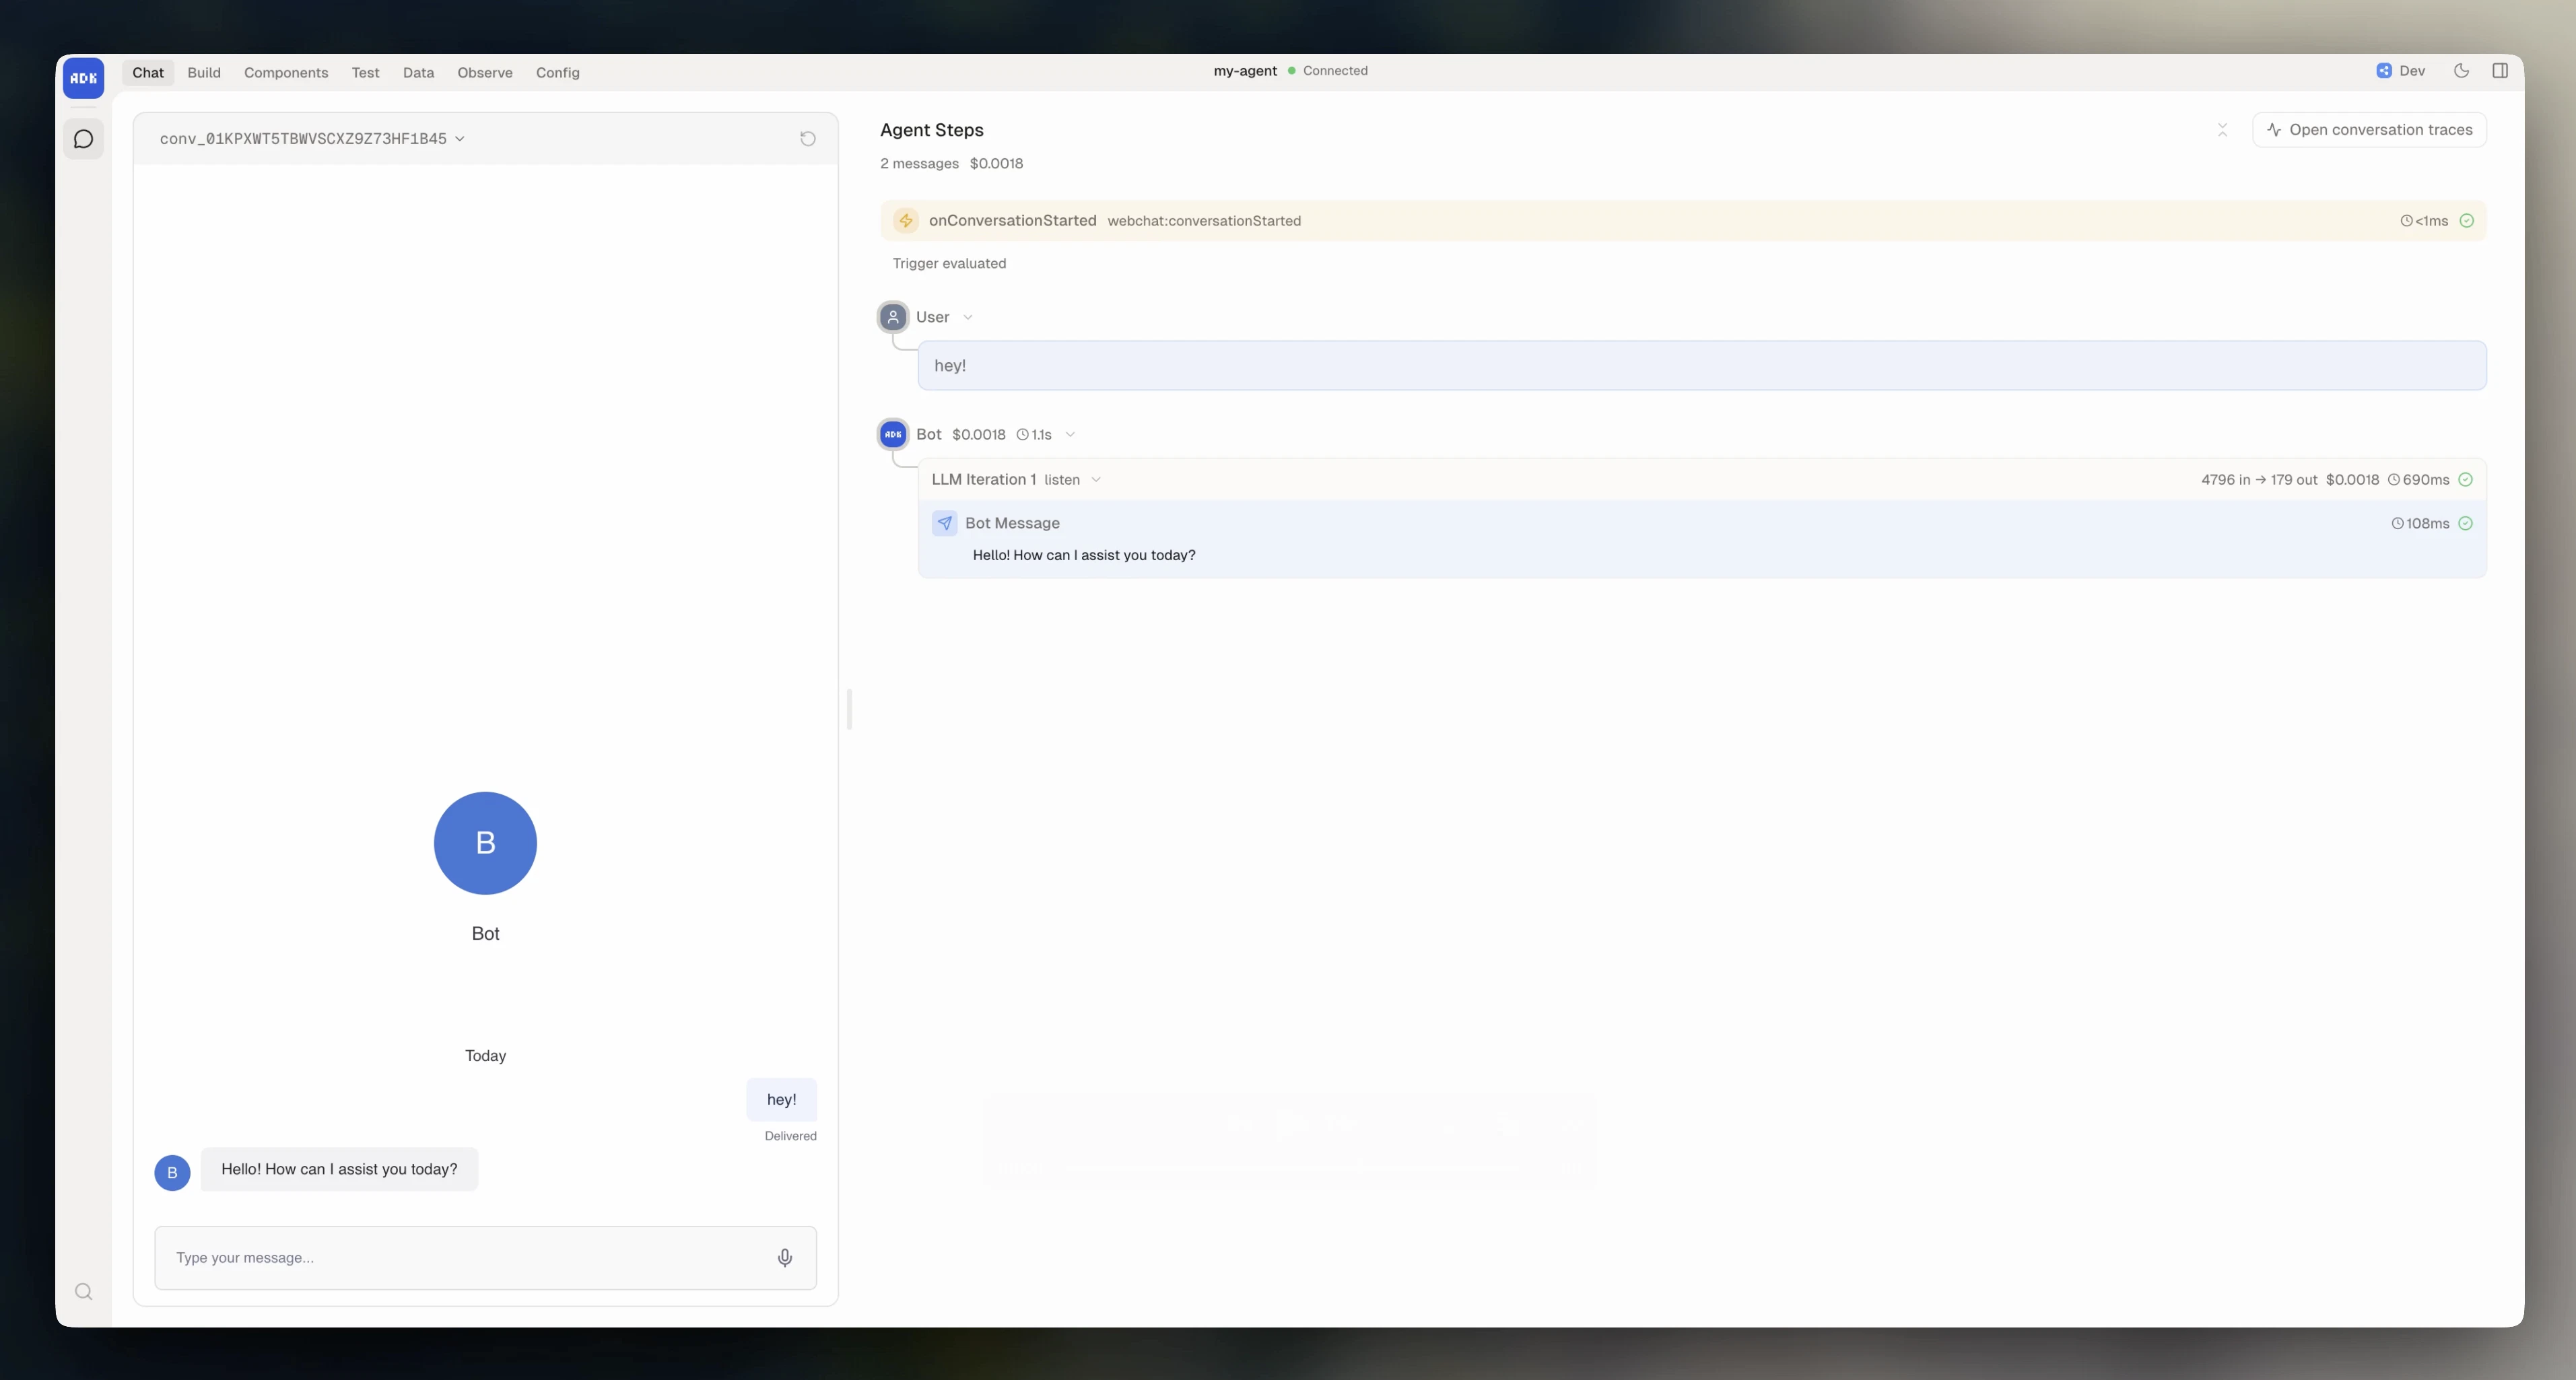
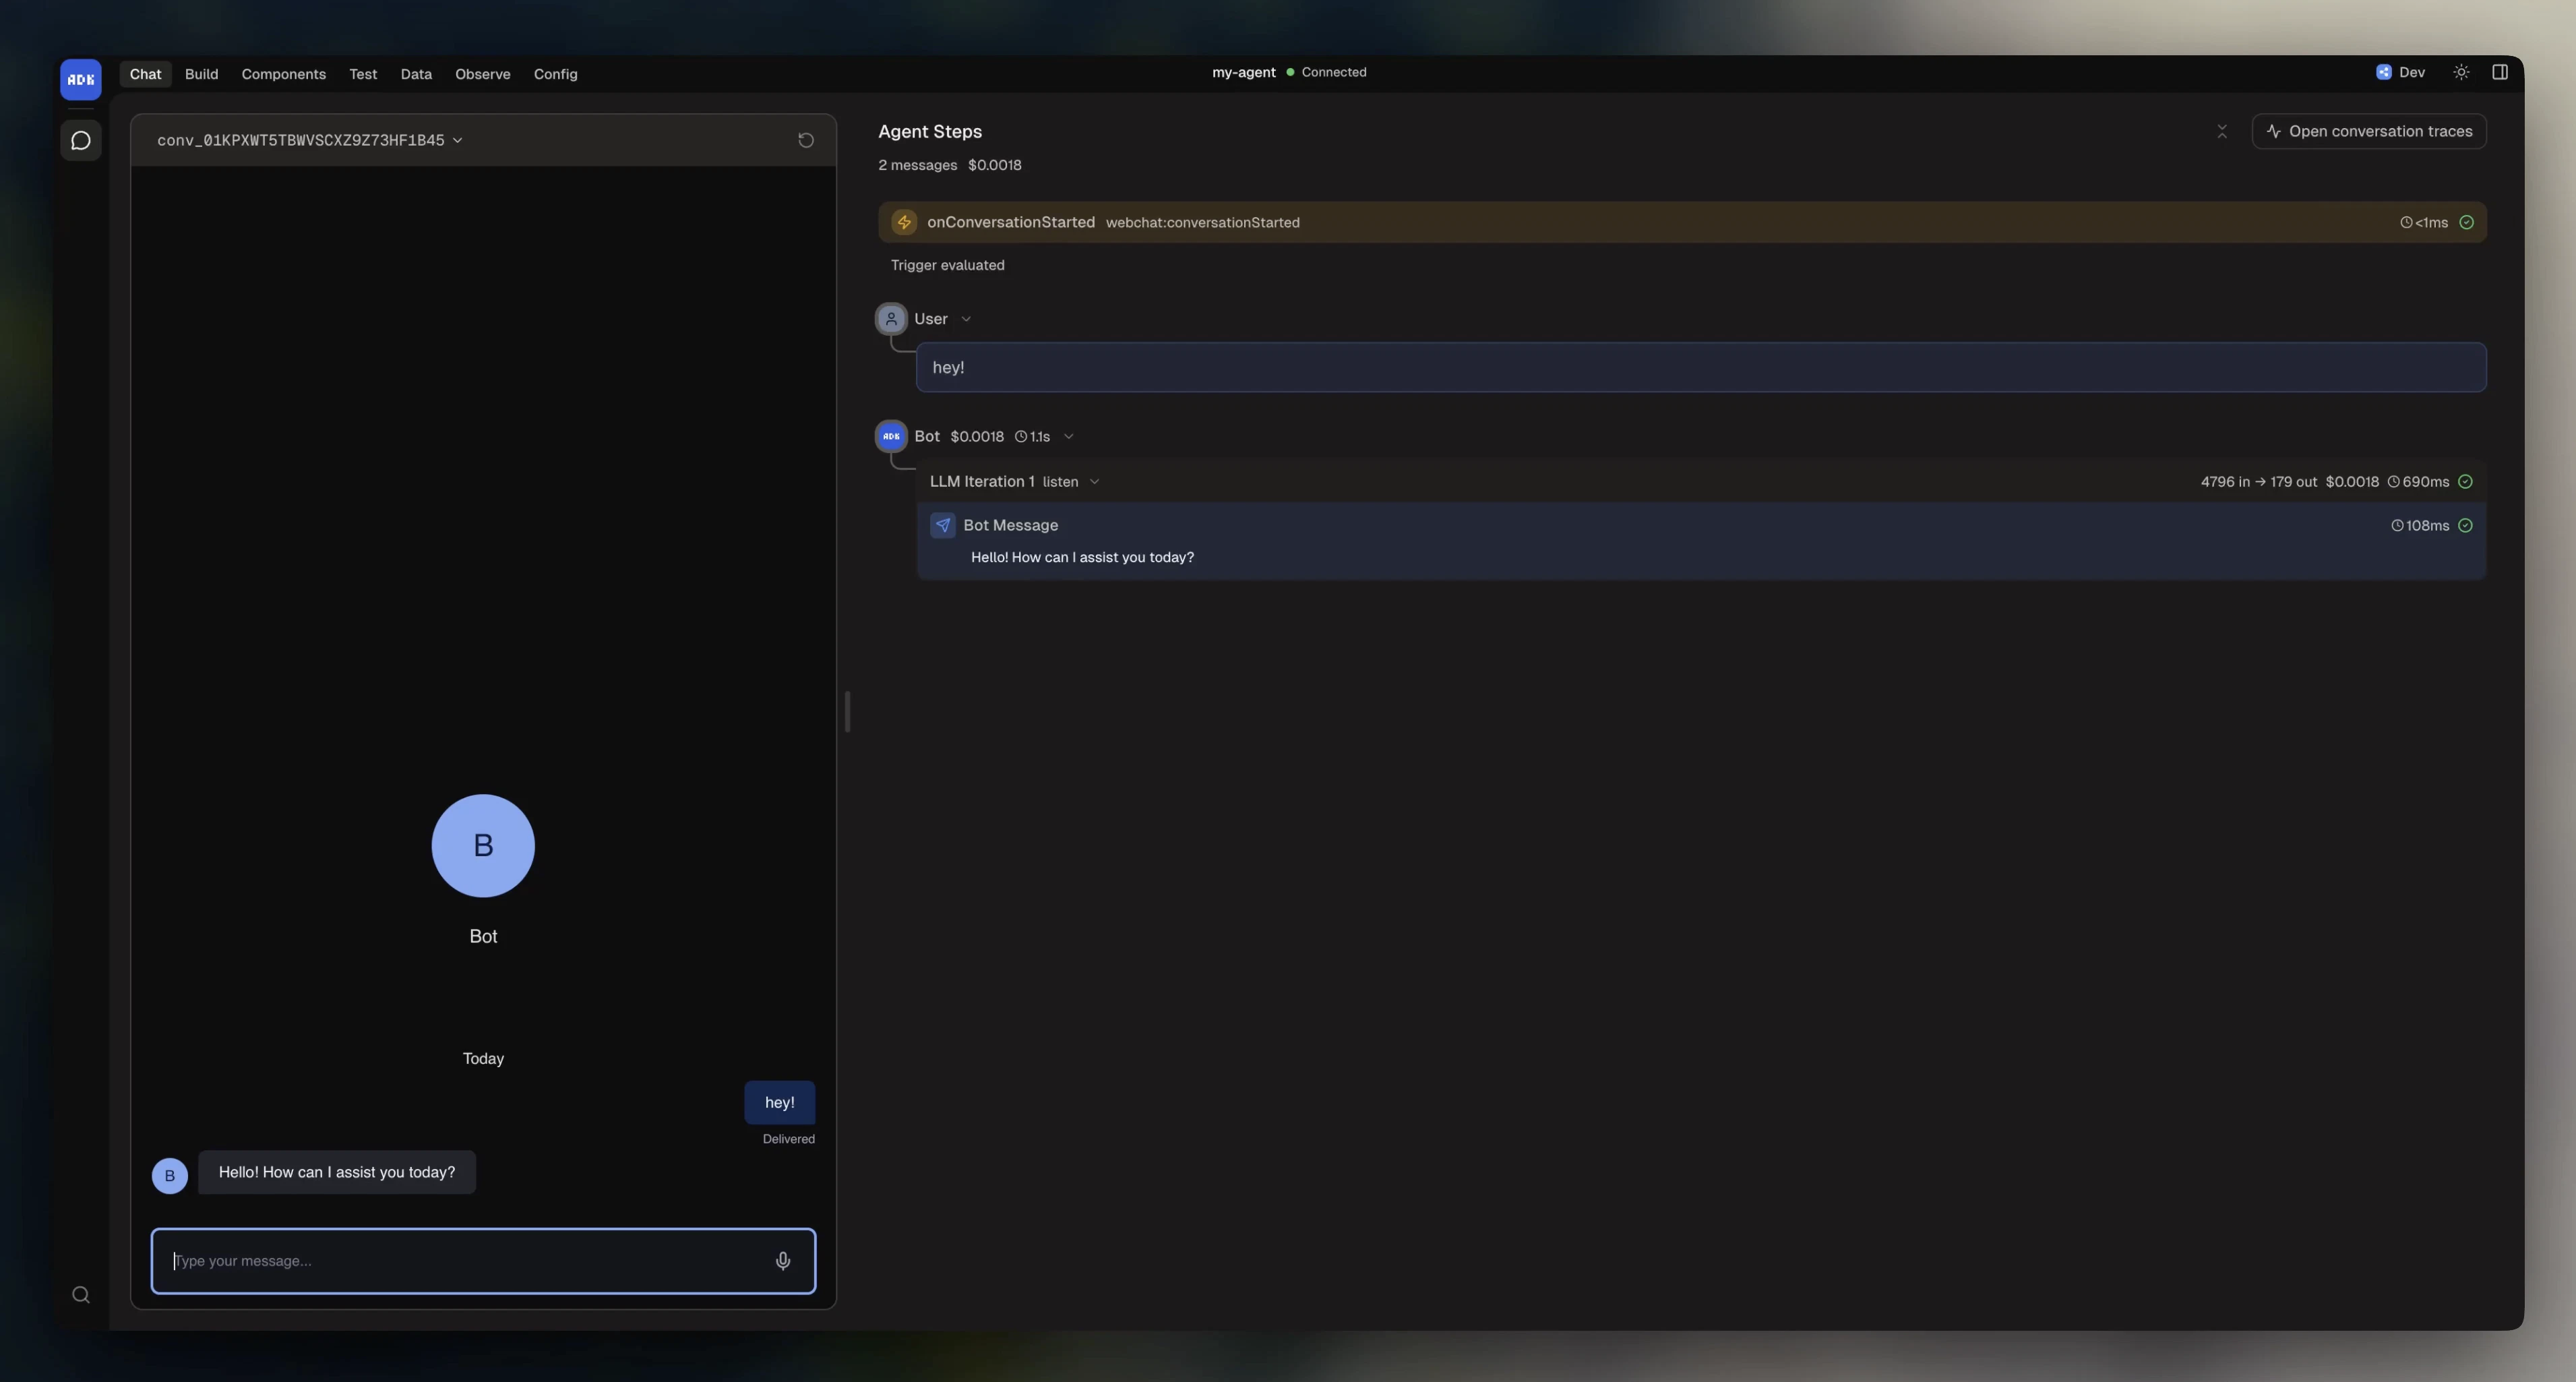
View in the dev console
The dev console is your local control panel for building and debugging. Within the dev console, you can:- Chat with your agent
- Browse its components (actions, workflows, triggers)
- Manage data (tables, knowledge bases, files)
- Run evals
- Inspect traces and logs
- Configure integrations
Chat in the terminal
Alternatively, open a new terminal window and start a conversation with your agent from the command line:Deploy your agent
When you’re ready to go live:adk init.
You deployed your first agent using the ADK!
Next, learn what’s in the project you just created and how to configure it:
Agent configuration
Project structure, models, state, and dependencies.